How to Use KT Tape for Preventing Shin Splints in Spring Distance Running on Road Surfaces
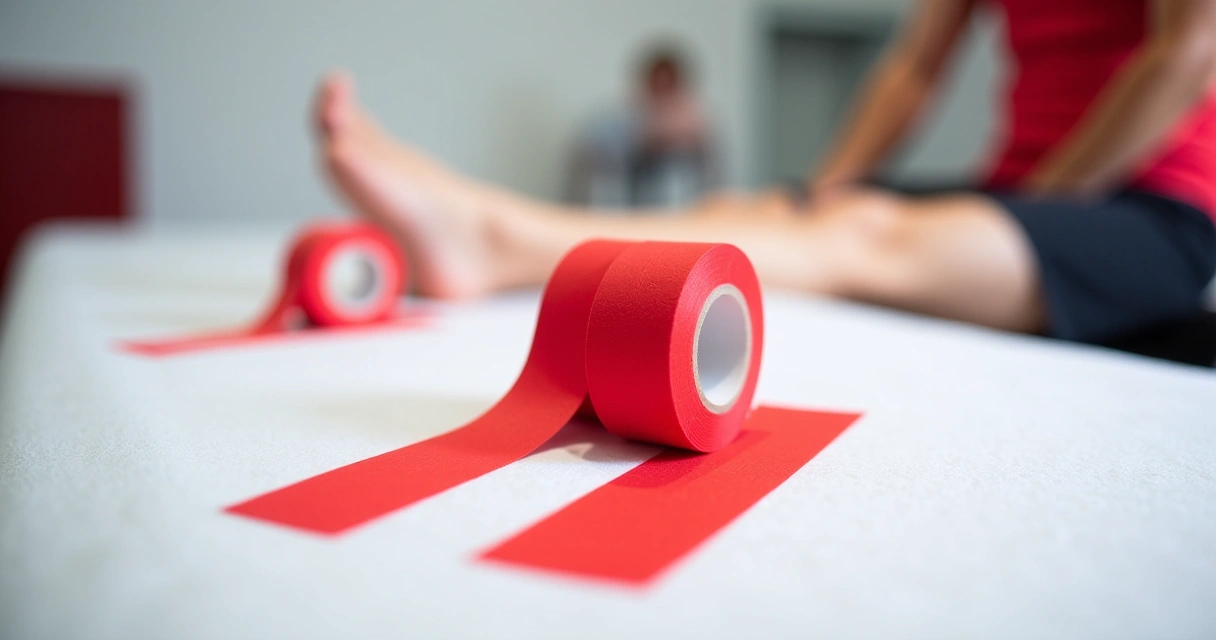
Spring running season brings out the distance runners, and with it comes the most predictable injury I see on the sideline: shin splints. You've built your winter base, the weather's finally decent, and suddenly your tibialis anterior is screaming three miles into your run. The worst part? Road surfaces in spring are brutal—harder than trails, unforgiving in ways your legs forgot about during the off-season. KT tape won't fix poor programming or overtraining, but it will offload stress from the tibial periosteum and reduce that anterior shin pain enough to let you build mileage safely. I've watched runners go from hobbling to hitting their spring goals with proper taping and smart training progression.
The key is understanding what KT tape actually does here: it reduces soft tissue stress by providing mechanical support to the fascia and muscles around your shin, decreases inflammation signaling through proprioceptive feedback, and stabilizes the anterior compartment during repeated ground strike impacts. It's not a cure. It's a tool that buys you time while you're addressing the real culprits—weak glutes, tight calves, ramped-up mileage too fast. If you're taping to run through pain instead of fixing the cause, you're setting yourself up for a worse injury down the line.
Table of Contents
- Understanding Shin Splints and Why Road Running in Spring Makes Them Worse
- Why KT Tape Works for Shin Splint Prevention
- Choosing the Right KT Tape and Skin Prep
- Step-by-Step Application for Anterior Shin Support
- Real-World Durability and Reapplication Schedule
- Complementary Strategies to Maximize Injury Prevention
Understanding Shin Splints and Why Road Running in Spring Makes Them Worse
Medial tibial stress syndrome—the clinical name for shin splints—is an overuse injury where repetitive stress causes inflammation and micro-tearing in the fascia and periosteum around your tibia. It's not a stress fracture, though runners with unchecked shin splints can develop one. The pain typically starts medially (inside edge of the shin), fires up during or after runs, and feels like a deep ache or sharp tenderness along the bone.
Spring road running is a perfect storm for this. Winter softened your body—lighter mileage, possibly more treadmill or trail work with built-in shock absorption. Now you're back on pavement, which has zero give. Add in the sudden mileage jump (runners are notorious for jumping 20-30% too fast), and your tibialis anterior, soleus, and flexor digitorum longus muscles are screaming from unaccustomed load. Road surfaces don't forgive poor biomechanics, tight calves, or weak hip stabilizers the way soft terrain does. KT tape helps by taking some of that load off the irritated tissues while you rebuild your running fitness properly.
Why KT Tape Works for Shin Splint Prevention
KT tape's mechanism for shin splint relief operates on three levels. First, the elastic properties of the tape create a mechanical lift on the skin and fascia, literally offloading stress from the irritated periostium. When applied with proper tension, it gently pulls the fascia away from the bone, reducing pressure in that inflamed zone. This is measurable—studies show decreased pressure in the affected soft tissue compartment with proper application.
Second, KT tape provides proprioceptive feedback. Your anterior shin has mechanoreceptors that sense tension and position. When the tape is on, it's constantly signaling to your nervous system, "Hey, we're supporting you here." This awareness helps recruit stabilizer muscles more effectively during ground strike, reducing the eccentric load on the tibialis anterior specifically. You're essentially getting a neuromuscular assist without restricting your running mechanics the way a rigid brace would.
Third—and this is critical—it reduces edema and improves lymphatic drainage through the lift mechanism. Shin splints involve inflammatory cascade. The tape's texture and lift encourage fluid clearance away from the injury site. This isn't magic, but it's real physiology. Combined with ice and NSAIDs if appropriate, you're genuinely reducing swelling and pain signaling.
What KT tape does NOT do: It won't prevent a stress fracture if you keep running recklessly. It won't fix glute weakness. It won't magically allow you to jump from 20 miles per week to 40 miles per week. Use it as part of a comprehensive prevention plan, not as an excuse to ignore smart training principles.
Choosing the Right KT Tape and Skin Prep
Not all KT tape is created equal, and I'm going to be direct: the off-brand stuff from gas stations is junk. Get legitimate athletic tape designed for sports medicine—RockTape, KT Tape Pro, Leukotape, or similar brands with proven adhesive performance. You need tape that will stay put for 3-5 days, maintain tension under sweat and friction, and won't cause skin irritation. I've seen runners waste money on cheap knockoffs that roll up or lose tension after one run. The real stuff costs $8-12 per roll and lasts 2-3 applications. That's worth it.
Here's the skin prep detail nobody talks about but everyone regrets ignoring: your anterior shin needs to be clean, dry, and relatively hair-free for the tape to adhere properly. If you have significant leg hair, trim it short or shave the area where the tape will contact skin. Hair is essentially hundreds of little air gaps between the tape and skin—the adhesive can't grip well. Clean with soap and water the night before application, then dry completely. If your skin is super oily, a quick alcohol wipe right before taping helps. Don't use lotion or sunscreen in the taping area—adhesive's enemy.
One more thing: test the tape on a small area before committing to a full application. Some athletes have mild adhesive sensitivity, and you don't want to discover this mid-training block. A 24-hour patch test on the inside of your calf is your friend.
Step-by-Step Application for Anterior Shin Support
What You'll Need: One full roll of KT tape (or pre-cut strips if you go that route), clean dry skin, and about 5 minutes. The standard recommendation is two anchor strips plus two to three support strips running the length of the shin. Here's how to do it right:
Step 1: Create Your First Anchor Strip
Tear off a strip of tape about 6 inches long. Round the corners (this prevents peeling). Place this horizontally around your ankle, just above the highest point of your ankle bone on the front of your shin. Apply with zero tension—it's purely an anchor. Press firmly for 5 seconds to activate adhesive.
Step 2: Create Your Second Anchor Strip
Tear off another 6-inch strip, round the corners, and place it horizontally just below your knee (about 2 inches below the knee crease). Again, zero tension. This is your upper anchor point. The space between these anchors is where the magic happens.
Step 3: Apply Your First Support Strip (Medial Emphasis)
This is the critical strip. Tear a long strip (about 14-16 inches), round the corners. Standing with your leg relaxed and your foot pointed slightly downward, start at your lower anchor strip on the medial (inside) edge of your shin. Apply the tape with 25-30% tension running diagonally across the anterior compartment, ending at your upper anchor strip toward the lateral (outside) edge. This creates a gentle lift that offloads medial tibial stress. Press firmly along the entire length. Wait 10 seconds for it to set.
Step 4: Apply Your Second Support Strip (Central Emphasis)
Another 14-16 inch strip. This time, start more centrally on your lower anchor strip and run it vertically (or very slightly diagonally) up the middle of your anterior shin to your upper anchor. Again, 25-30% tension. This reinforces the anterior compartment support. Press for 10 seconds.
Step 5: Optional Third Strip for Maximum Support (Lateral Emphasis)
If you want additional coverage, add another 14-16 inch strip starting at the lower anchor on the lateral edge, running slightly diagonally across to the medial side at the upper anchor. This creates a triangulated support pattern. Most runners find strips 3 and 4 sufficient; some prefer just the medial and central strips.
Tension Matters: This is where runners mess up most. Too much tension, and you're restricting blood flow and creating discomfort. Too little, and the tape barely works. The sweet spot is 25-30% stretch—imagine pulling the tape to about one-quarter its maximum length. You should feel the tape gently lifting your skin, but you shouldn't feel restricted or uncomfortable. If your toes tingle or your foot feels numb, you've overtightened. Remove and reapply.
Real-World Durability and Reapplication Schedule
Quality KT tape typically holds up for 3-5 days under normal conditions. Spring running means moisture—sweat, dew, rain, streams. Water is tape's kryptonite. If you're running 5-6 days per week, expect to need reapplication every 3 days minimum. Some runners go 5 days; others need fresh tape after 3 sweaty runs. Here's the honest reality: the tape starts losing tension after run two or three. It's still providing some support through day 5, but day one and two are when you get peak benefit.
Strategy: Reapply after your long run or your hardest effort. Those are the workouts where shin stress is highest, so you want fresh tape with maximum tension for those sessions. Your easier recovery runs can tolerate day-3 or day-4 tape. Your tempo or speed work? Fresh tape only.
Watch for these signals that it's time to replace: The edges start rolling up. The tension feels noticeably looser. You see wrinkles or gaps between the tape and skin. The tape is visibly darkened or discolored (sweat and grime breaking down the adhesive). Any of
The best KT tape for preventing shin splints is a 2-inch wide, high-adhesive tape that provides strong support without restricting movement. Look for brands like Kinesio, which are specifically designed for sports injury prevention and muscle recovery. Choose KT tape that is 2 inches wide and has a strong adhesive for maximum support. Ensure the tape is breathable and suitable for long-term wear, especially during spring running sessions on road surfaces. KT tape is worth it for preventing shin splints as it helps align the muscles and reduce strain on the shin bones. It also provides continuous support during running, which can significantly lower the risk of injury. Apply KT tape in a 'X' or 'I' shape over the shins, starting from the ankle up to the lower leg. Ensure the tape is smooth and not twisted for optimal support and effectiveness. Clean and dry your skin thoroughly before applying KT tape. Exfoliate gently to remove dead skin cells and apply a skin prep product to enhance adhesion and reduce irritation. Prevent shin splints by using KT tape for support, wearing compression sleeves, and ensuring proper footwear. Focus on gradual mileage increases and incorporate strength training for the lower legs to improve stability and reduce strain. KT tape offers benefits such as improved muscle alignment, reduced strain on the shins, and enhanced recovery. It also provides continuous support during runs, helping to prevent injuries and promote faster healing.Frequently Asked Questions
What is the best KT tape for preventing shin splints?
How do I choose the right KT tape for shin splints?
Is KT tape worth it for preventing shin splints?
How do I apply KT tape for shin splints?
What is the best way to prepare my skin for KT tape?
How can I prevent shin splints while running on road surfaces?
What are the benefits of using KT tape for shin splints?