How to Apply KT Tape for Shin Splints in Spring Distance Running on Road Courses
Spring brings road racing season, and with it comes a surge of shin splints—the injury that takes down more distance runners than practically anything else. Here's the reality: shin splints happen when your tibialis anterior (the front shin muscle) gets overloaded faster than it can adapt. Road surfaces don't help. Neither does the temptation to ramp up mileage too fast after a winter layoff. KT tape won't fix a broken training plan, but it can stabilize the affected tissue, reduce compensatory stress, and get you through your taper week without re-aggravating the injury. I've taped hundreds of runners' shins before spring races. Most came back without flare-ups. The ones who didn't? They ignored the mobility work and kept hammering mileage anyway.
This guide walks you through the exact taping technique I use, the science behind why it works, and—just as important—what it won't do for you. If you're standing at the start line in pain instead of confidence, this is the piece you need.
Table of Contents
Understanding Shin Splints and Why KT Tape Works
Shin splints—medial tibial stress syndrome (MTSS) in the medical world—is inflammation and microtrauma along the tibia where your muscles attach. The tibialis anterior (front shin) bears the brunt of impact on road surfaces. Every foot strike sends a shock wave through concrete, asphalt, and your anterior tibial fascia. When you add spring mileage increases to undertrained calf and shin muscles, the fascia gets overwhelmed and starts breaking down. That's your splint.
KT tape doesn't heal shin splints. Let me be clear on that. What it does is mechanically offload the inflamed tissue by providing sustained fascial support and proprioceptive feedback. The tape physically lifts and stabilizes the fascia around the tibia, reducing the strain on microtrauma sites with each impact. It also improves lymphatic drainage—the tape creates small corrugations on your skin that encourage fluid movement away from the injury site. For spring racing, that means less swelling, less pain during your run, and enough reduction in compensatory stress to let you stay in training without aggravating the injury further.
Road running makes this worse. Unlike track or trail surfaces that have some give, asphalt is unforgiving. Every mile on pavement loads your anterior tibia with repetitive micro-impacts. The tape becomes your shock absorber. Combined with proper calf and shin strengthening, it's genuinely effective. Alone? It's better than nothing, but you're still running on a broken plan.
Pre-Taping Preparation: Skin and Mobility
Bad preparation kills taping effectiveness. I've seen runners slap tape over sweaty, hairy legs and wonder why it fell off after 3 miles. The tape is only as good as its adhesion to your skin. Start by cleaning your shin with soap and water, then dry it completely. If you have significant leg hair, trim or shave the area where the tape will go—at least a 4-inch strip along the medial and anterior tibial areas. Tape won't hold over hair, and ripping it off is its own special kind of pain.
Before you tape, do 5 minutes of dynamic shin and calf mobility. Perform ankle circles, calf stretches (3 sets of 30 seconds each leg), and tibialis anterior activation by sitting down and pulling your toes toward your shin repeatedly. This preps the fascia and reduces resting tension. It also helps you identify exactly where the soreness is—you want to tape the most painful area along the tibia. The tape works best when it directly targets the injury site, not the general region. If you tape blindly, you'll get partial relief instead of solid offloading.
If you're prone to skin sensitivity or adhesive reactions, use a pre-tape base layer first. It's a thin, breathable barrier between your skin and the KT tape. This is especially important if you have sensitive skin or if you're taping for multiple consecutive days. I rarely see adhesive reactions when athletes use a proper base, and the tape still sticks well.
Step-by-Step KT Tape Application for Anterior Shin Splints
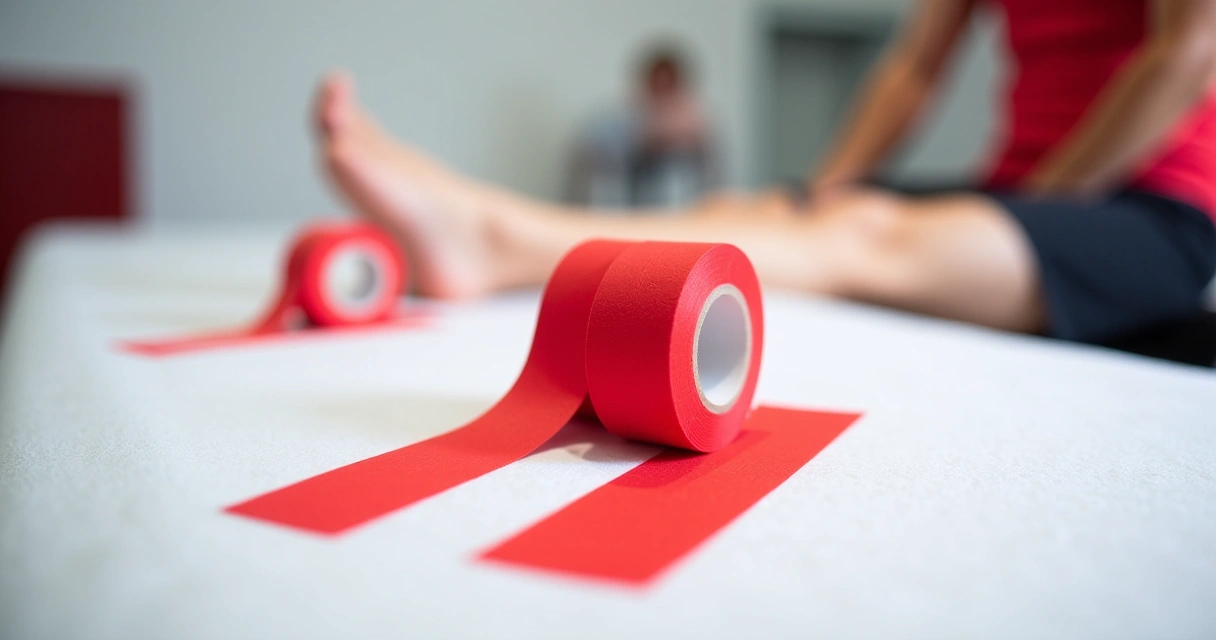
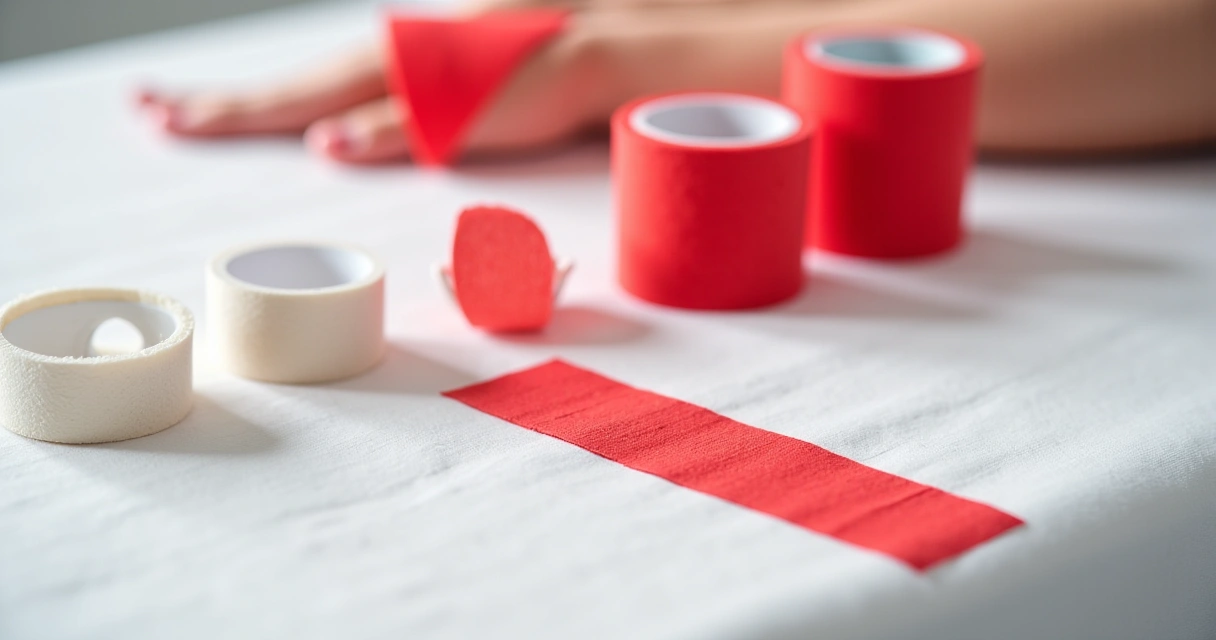
What You Need: Two pre-cut KT tape strips (or a full roll and scissors), skin prep, and a clear view of your affected shin. I prefer pre-cut strips for convenience—they save time and ensure consistent width.
The Anchor Strip (First Piece): Start with a 4-6 inch horizontal strip applied just below your knee. This is your anchor. Peel off half the backing paper from one end and apply the tape just below the kneecap, pressing down firmly for 3-5 seconds to ensure adhesion. This strip should be relatively flat with minimal tension—it's not providing support yet, just a reference point. The tape should sit directly on the area where you feel soreness along the anterior tibia.
The Main Support Strip (Second Piece): This is where the magic happens. Take a second strip and cut it into two smaller pieces if using a full roll (or grab your second pre-cut strip). Apply the first piece starting at the inside of your ankle, just above where your medial tibial fascia begins. Here's the technique: peel back the backing paper as you apply, using about 25-40% tension (not maximum tension, not slack—think gentle stretch). Run the tape diagonally up the inside front of your shin, aiming for that focal point of soreness. End the strip about 2-3 inches below the knee. Press down firmly as you go, using your thumb to smooth out any bubbles.
Your second support strip goes on the lateral side (outside front) of your shin, mirroring the first piece. Same angle, same tension level. This creates a cross-hatched support pattern that offloads the inflamed fascial tissue from multiple directions. The dual-strip approach prevents compensatory overload on either side of the tibia. This is the difference between taping that lasts and tape that peels off after 30 minutes.
Final Check: Once both strips are down, press the entire taped area for 10 seconds. The tape should feel snug but not restrictive—you should be able to fit a finger under the edge. Move your ankle and shin through gentle ranges of motion. You should feel support without pain. If you feel pain, you've either applied tension incorrectly or you have a more severe injury than KT tape can handle (see Section 6).
Durability and Reapplication on Road Racing Days
KT tape holds up surprisingly well in road running conditions. Quality tape should survive a 10-mile run with sweat and road impact intact. However, durability depends on three factors: tape brand (not all KT tapes are equal), skin preparation, and whether you're training in humidity or racing in humid conditions. Spring racing often means rain and sweat. Cheap tape fails fast. I recommend mid-range to premium KT tape brands that have a water-resistant adhesive. Budget tape rolls off when you hit mile 8. Not worth it.
For race day, apply your tape the evening before if the race is in the morning. For evening races, tape 2-3 hours before start time. If you're running a 5K or 10K in spring, the tape will stay intact through the whole effort. Half marathons? You'll lose a bit of adhesion on the corners by mile 8, but the tape won't fall off completely. After your run, remove the tape carefully by peeling from one corner—don't rip it. Ripping causes micro-tears in skin adhesion and guarantees sensitivity when you tape again. Gentle, slow removal keeps your skin intact and ready for the next taping session.
Reapplication is safe every day if you're managing an active injury. Your skin might show slight redness for 30 minutes post-removal—that's normal adhesive mark, not damage. If you see actual skin irritation, raw spots, or rash, skip a day and use a compression sleeve instead. Don't overtape an already sensitive area. You can tape for 7-10 consecutive days without issue if your skin is healthy. After that, give yourself a day off to let skin recover.
Combining KT Tape with Other Recovery Tools
KT tape is one tool in a toolkit. The athletes I work with who recover fastest aren't just taping—they're also doing the work. Pair your tape with compression sleeves worn for 3-4 hours post-run. The sleeve compresses the entire lower leg, pushing out inflammation that the tape already reduced. Wear the sleeve during your cool-down walk, then remove it. Your shin will be noticeably less sore by evening.
Add a massage tool (foam roller or percussion device) 24 hours after taping. Use it on your calf, not directly on the sore shin area. The calf contributes heavily to shin splint risk—tight calves force your anterior tibia to work harder. A 2-minute percussion massage on each calf every other day will reduce compensatory stress on your shins within a week. Combined with the tape's fascial support, this becomes genuinely effective injury management.
Mobility work is non-negotiable. Do 10 minutes of calf and shin stretching daily. Hold each stretch for 45-60 seconds. Add eccentric calf exercises—single-leg calf raises, controlled lowering—three times per week. These strengthen the tibialis anterior and improve fascial resilience. Tape plus mobility plus compression equals recovery. Tape alone equals temporary relief with high re-injury risk.
Consider a compression wrap for your shin on off days. A proper sports wrap or compression bandage applied with medium pressure (not too tight) will further reduce swelling and provide ongoing offloading between runs. Some runners alternate: tape on run days, compression wrap on recovery days. This gives your skin a break while maintaining
Look for KT tape with strong adhesive and flexibility to conform to your shin. Brands like Kinesio, RockTape, and 3M offer high-quality options suitable for shin splints. Apply KT tape in a 'X' or 'Y' shape over the tibialis anterior muscle, ensuring it's snug but not restrictive. Follow the step-by-step guide in the article for optimal support. KT tape can be worth it for many runners as it provides support, reduces strain, and promotes healing. It's a popular choice for injury prevention and recovery in sports medicine. Clean and dry your skin thoroughly before applying KT tape. Exfoliate gently to remove dead skin and ensure better adhesion. Avoid using oils or lotions that can reduce tape effectiveness. Look for compression sleeves that offer targeted support to the shin area. Brands like PowerDot, Compressionaire, and Rolyan provide options that complement KT taping for added comfort and recovery. Combine KT taping with rest, ice, and stretching. Focus on strengthening the tibialis anterior and improving foot mechanics to reduce strain and promote faster healing. If KT tape doesn't provide relief, consider consulting a sports medicine professional. They may recommend additional treatments like physical therapy, orthotics, or alternative taping techniques for better results.Frequently Asked Questions
How do I choose the best KT tape for shin splints?
What is the best way to apply KT tape for shin splints?
Is KT tape worth it for preventing shin splints during spring running?
How do I prepare my skin for KT taping before running?
What are the best compression sleeves for shin splints?
How can I speed up recovery from shin splints with KT tape?
What should I do if KT tape doesn't relieve my shin splints?